

Understanding Gimbal Balance Fundamentals
What gimbal balance means and why it matters
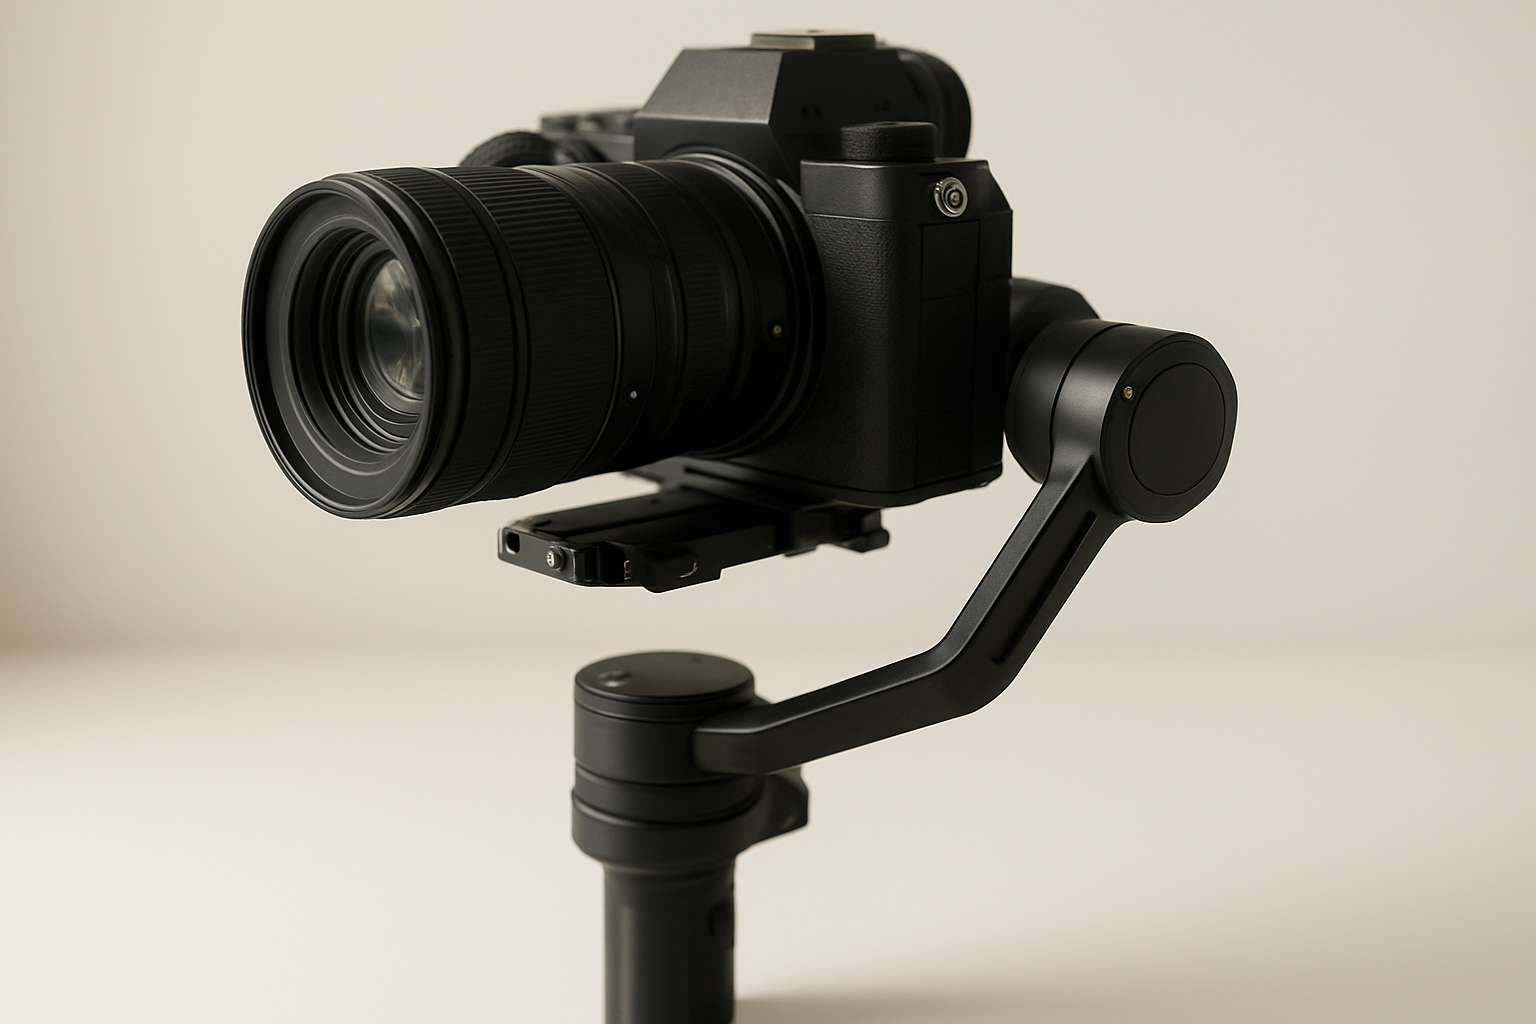
Gimbal balance refers to the precise distribution of your camera’s weight across all three axes of your gimbal stabilizer, ensuring the motors don’t work excessively to maintain stability. Proper gimbal balance is crucial for achieving smooth, professional footage while extending battery life and reducing motor wear on devices like the DJI RS3 Mini and DJI RS4 Mini.
Signs your camera is unbalanced on the gimbal
When your camera gimbal setup is unbalanced, you’ll notice several telltale signs: the gimbal motors struggle audibly, battery drains rapidly, and footage exhibits unwanted drift or jerky movements. The camera may tilt unexpectedly during operation, and your gimbal stabilizer may vibrate or feel unstable when powered on, indicating immediate need for 3-axis gimbal balancing.
Common balance problems that affect footage quality
Unbalanced gimbals create distinctive footage issues including horizontal drift, sudden tilting movements, and inconsistent stabilization performance. Mirrorless camera gimbal setups often suffer from rear-heavy configurations, while front-heavy builds cause constant downward drift. These imbalances force motors to overcompensate, resulting in jerky corrections visible in your final footage and reduced overall stabilization effectiveness.
Tools and equipment needed for proper balancing
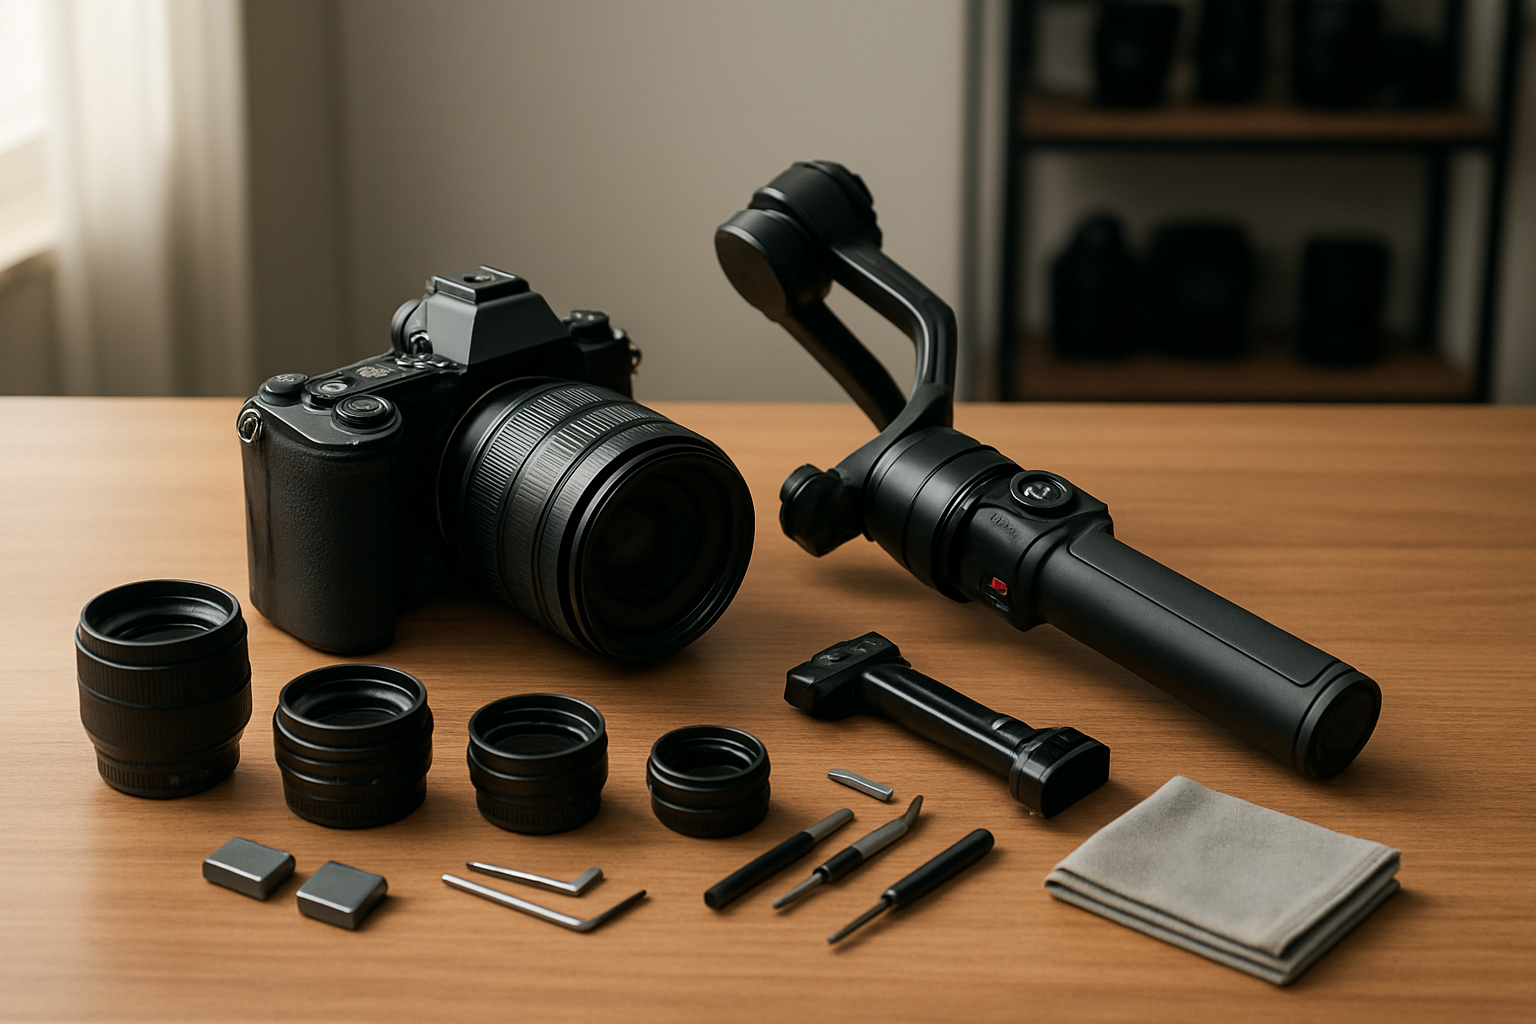
Essential tools for gimbal stabilizer setup include your camera and lens combination, fully charged batteries, and memory cards to simulate actual shooting weight. Most DJI Osmo Mobile 7 and professional gimbals come with built-in adjustment mechanisms, but having a small screwdriver set helps with precise counterweight adjustments when needed for optimal how to balance camera gimbal results.
DJI RS3 Mini, 3-Axis Mirrorless Gimbal Lightweight Stabilizers
Buy Now
The DJI RS3 Mini stands out as the perfect gimbal stabilizer for mirrorless cameras and smaller DSLR setups. This lightweight 3-axis gimbal handles cameras weighing up to 4.4 pounds, making it ideal for Sony a7 series, Canon R series, and similar compact professional cameras. Its quick-release plates and intuitive balance adjustment system allow you to achieve proper gimbal balance in under a minute. The RS3 Mini’s compact design doesn’t compromise on performance, delivering smooth stabilization for handheld shots, low-angle filming, and dynamic camera movements. What makes this gimbal particularly appealing is its automated axis locks that engage during the balancing process, preventing accidental movement while you fine-tune each axis. The built-in touchscreen provides real-time balance indicators, showing exactly when your camera reaches the optimal balance point across all three axes.
Pre-Balancing Setup and Preparation
Powering off the gimbal before making adjustments
Always power off your gimbal stabilizer completely before beginning the gimbal balance process. This prevents motor resistance and potential damage to internal components during manual adjustments.
Mounting your camera securely to the gimbal
Ensure your camera is properly mounted to the camera plate with all screws tightened securely. Double-check that the mounting plate is compatible with your specific camera model and that the weight distribution feels stable before proceeding.
Checking all connection points and locks
Inspect all gimbal locks and connection points systematically. Verify that quick-release mechanisms are properly engaged and that each axis can move freely without obstruction. This step prevents equipment damage during the balancing procedure.
Setting up in a stable working environment
Choose a flat, stable surface away from vibrations or air currents. Good lighting is essential for precise gimbal balance adjustments. Having adequate workspace allows you to manipulate the 3-axis gimbal freely while maintaining proper ergonomics throughout the setup process.
DJI RS 4 Mini, Gimbal Stabilizer
Buy Now
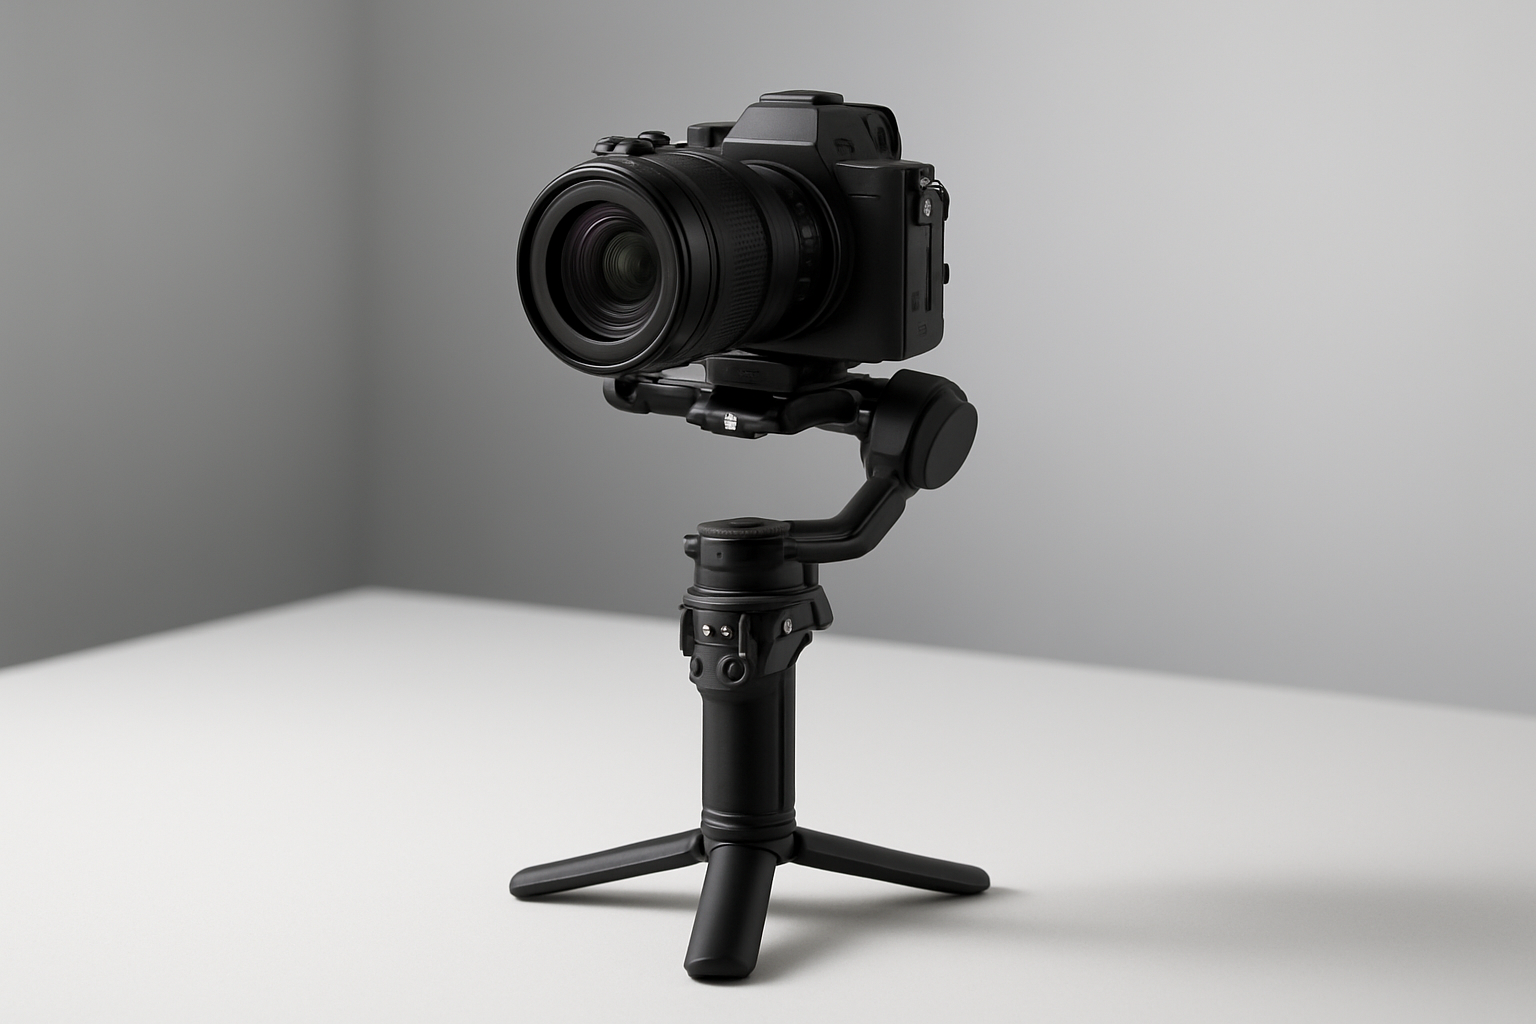
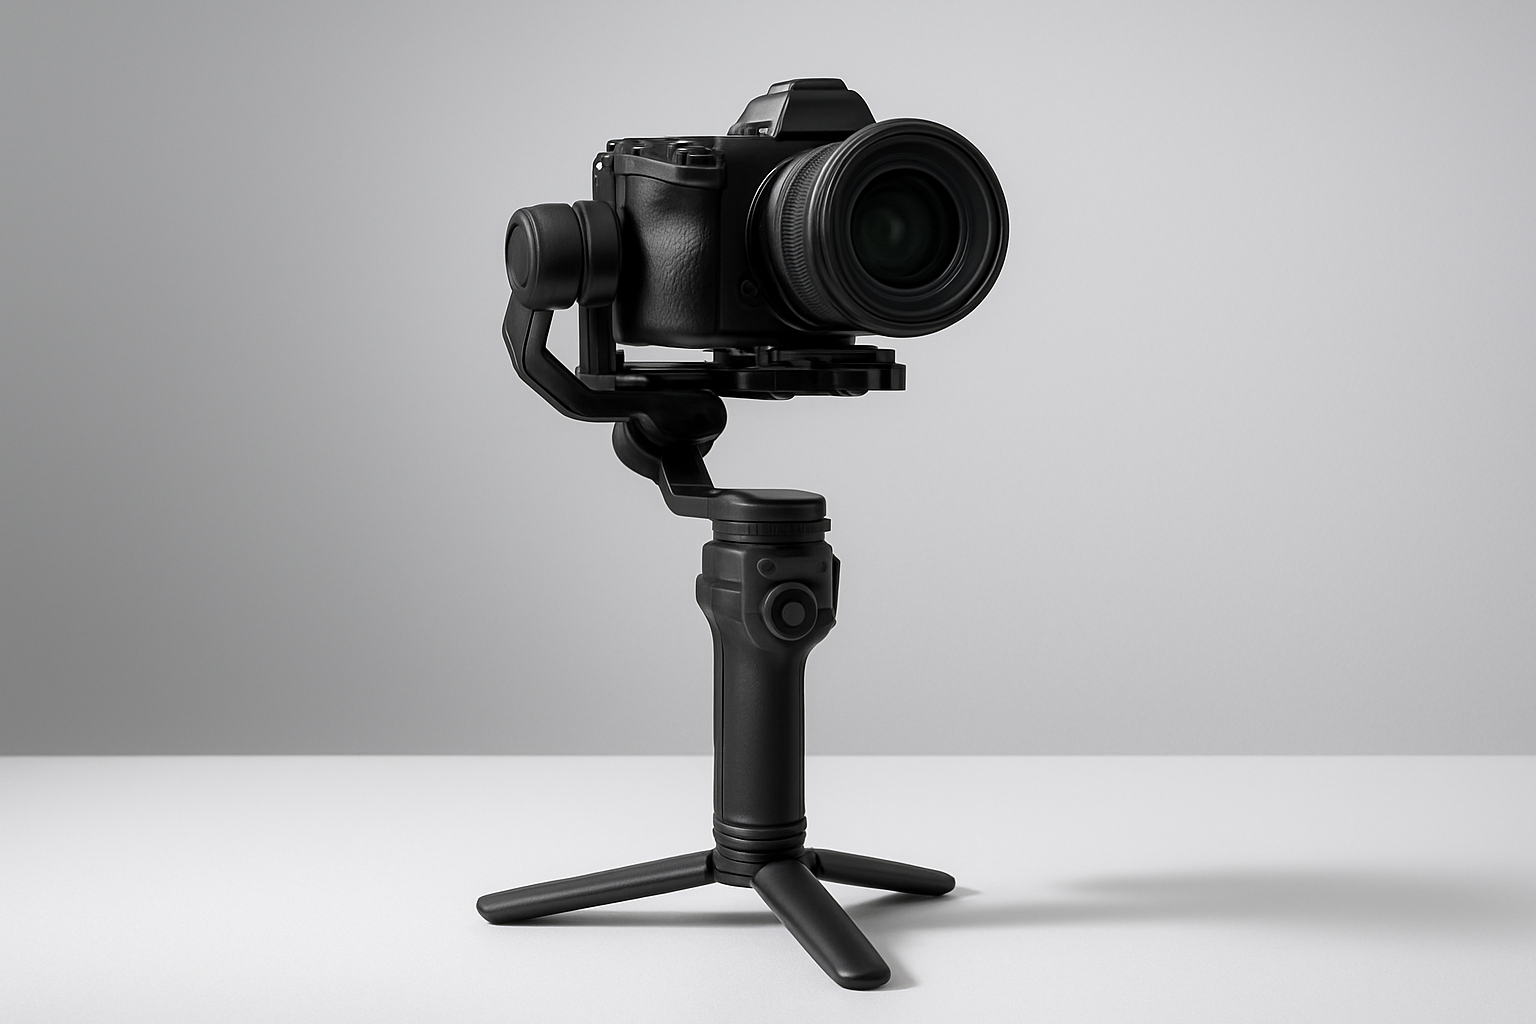
The DJI RS 4 Mini stands out as an exceptional gimbal stabilizer designed specifically for mirrorless cameras and lightweight setups. This compact powerhouse delivers professional-grade stabilization while maintaining remarkable portability, making it perfect for content creators who need reliable camera gimbal performance without the bulk. When learning how to balance camera gimbal systems, the RS 4 Mini’s intuitive design simplifies the process significantly compared to larger alternatives.
Key Features and Specifications
| Feature | Specification |
|---|---|
| Maximum Payload | 2.0 kg (4.4 lbs) |
| Battery Life | Up to 9 hours |
| Weight | 795g (1.75 lbs) |
| Compatibility | Most mirrorless cameras |
| Axis Count | 3-axis stabilization |
Quick Balance Setup Process
The RS 4 Mini’s 3-axis gimbal balancing system features tool-free adjustments that drastically reduce setup time. Each axis includes clearly marked adjustment points with smooth sliding mechanisms that lock securely once positioned. The gimbal stabilizer setup process becomes intuitive thanks to the color-coded balance indicators and responsive feedback from the motors during initial power-on tests.
Compatibility and Camera Support
This mirrorless camera gimbal supports popular camera models including Sony A7 series, Canon EOS R series, and Fujifilm X-T models. The quick-release baseplate system allows for rapid camera mounting and dismounting, while the adjustable counterweight system accommodates various lens configurations. Professional videographers appreciate how the RS 4 Mini handles different camera and lens combinations without requiring extensive recalibration between shoots.
Balancing the Tilt Axis
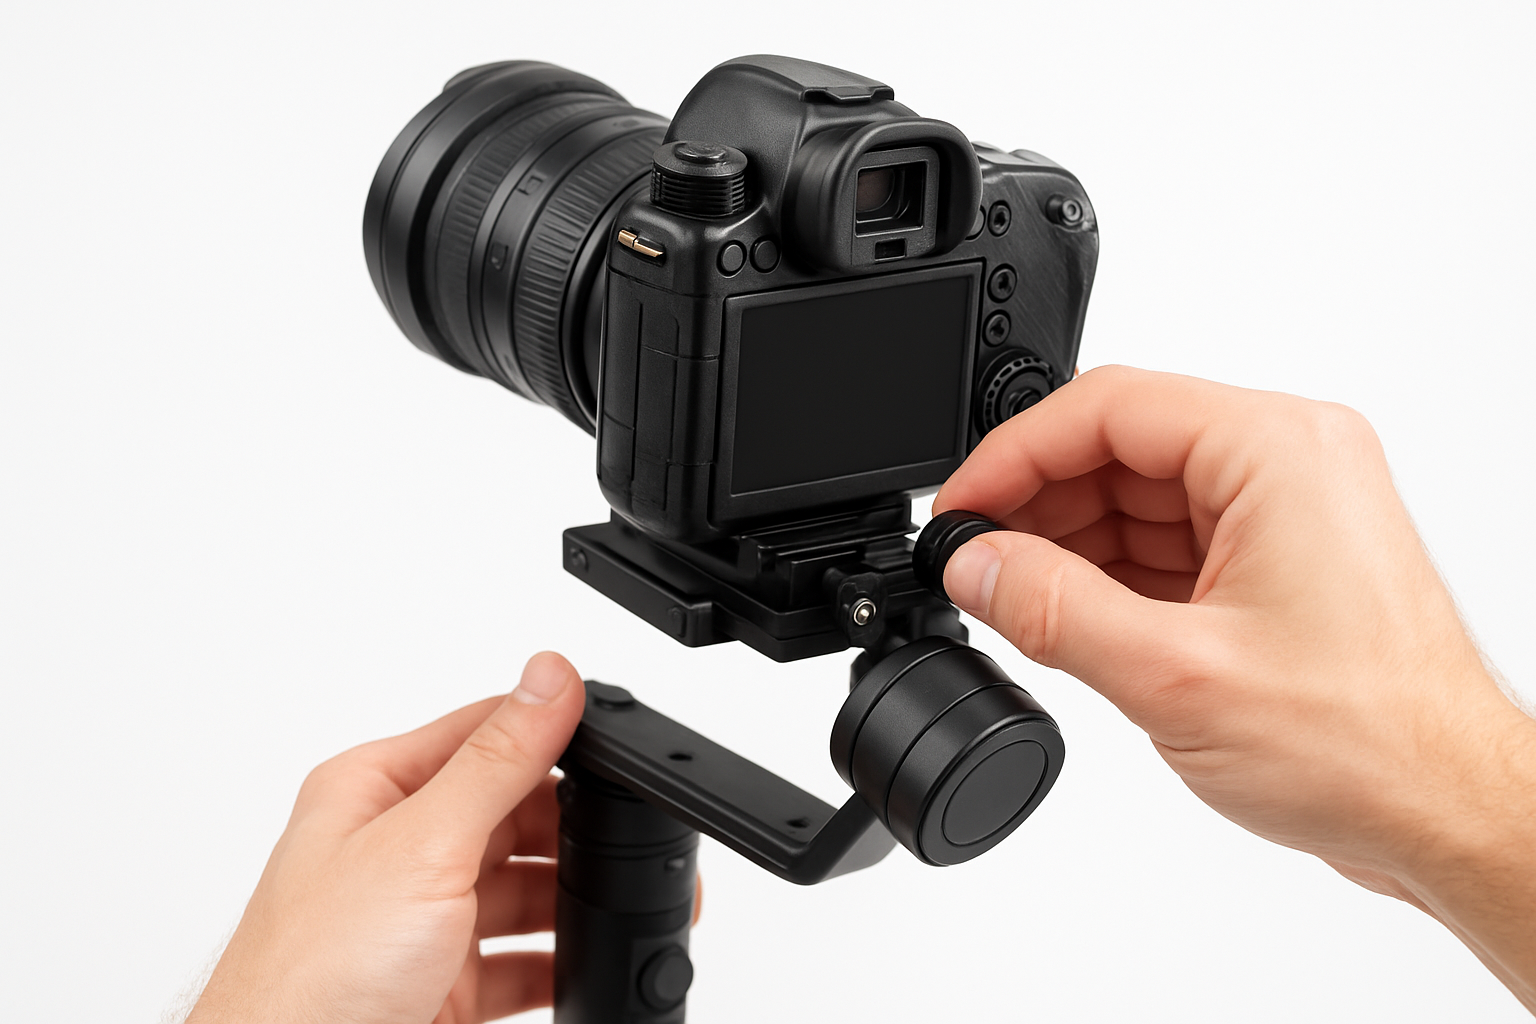
Loosening the Tilt Axis Lock Mechanism
Begin by locating the tilt axis lock mechanism on your gimbal stabilizer. Carefully rotate the lock counterclockwise to release tension, allowing the camera to move freely along the tilt axis for proper gimbal balance adjustment.
Adjusting Camera Position Until It Stays Level
With the tilt axis unlocked, gently slide your camera forward or backward on the mounting plate. Test the balance by releasing your grip – a properly balanced camera should remain level without tilting up or down when positioned horizontally.
Fine-Tuning for Perfect Horizontal Balance
Make micro-adjustments to achieve precise gimbal tilt axis balance. Move the camera in small increments until it maintains perfect horizontal equilibrium. This critical step ensures your 3-axis gimbal balancing performs optimally during operation and reduces motor strain significantly.
Securing the Tilt Axis Once Balanced
Once you’ve achieved perfect horizontal balance, carefully tighten the tilt axis lock mechanism clockwise. Ensure the lock is secure but avoid over-tightening, which could damage the gimbal stabilizer setup or affect the balanced position you’ve just established.
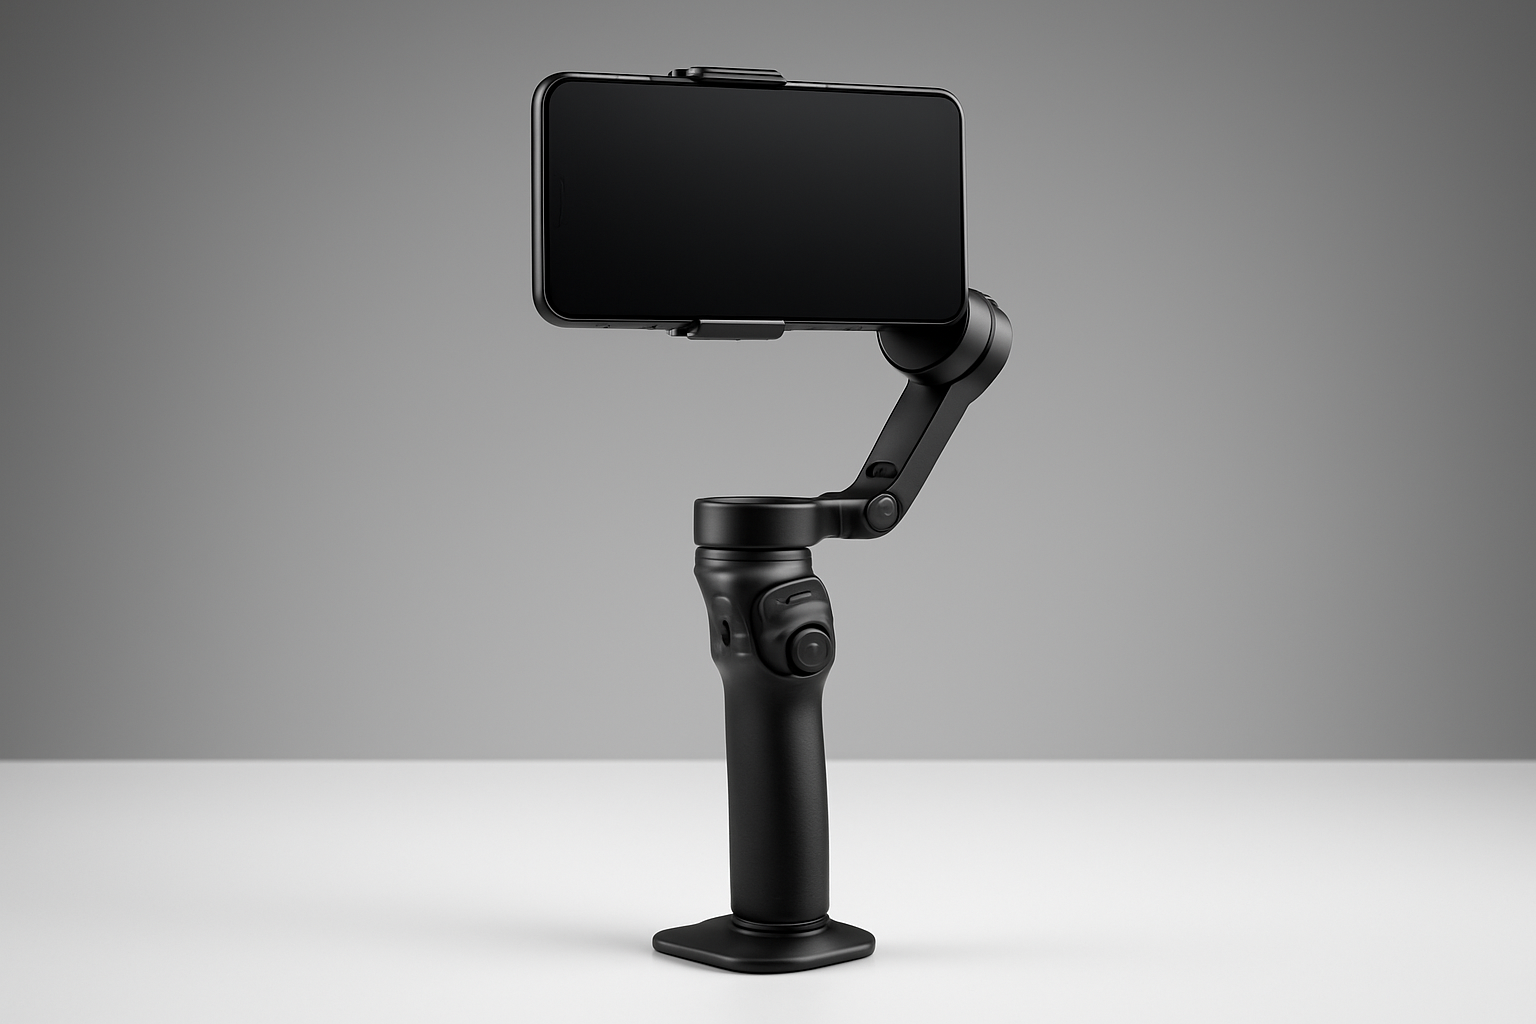
DJI Osmo Mobile 7 Gimbal Stabilizer
Buy Now
Key Features for Smartphone Stability
The DJI Osmo Mobile 7 represents the latest evolution in smartphone gimbal stabilizer technology, offering exceptional performance for content creators seeking professional-quality footage. This compact gimbal stabilizer features advanced ActiveTrack 6.0 technology and magnetic quick-release mounting, making it perfect for social media creators and mobile filmmakers. The built-in extension rod extends your shooting range while the intuitive DJI Mimo app provides seamless control over gimbal movements and camera settings. Quick balance adjustment takes just seconds – simply mount your smartphone, adjust the counterweight, and you’re ready to capture buttery-smooth footage that rivals professional camera setups.
Balance Optimization Tips
| Feature | Benefit | Balance Impact |
|---|---|---|
| Magnetic Mount | Quick phone attachment | Consistent balance point |
| Extension Rod | Extended reach capability | Requires recalibration |
| ActiveTrack 6.0 | Intelligent subject tracking | Auto-balance compensation |
The gimbal’s three-axis stabilization system automatically compensates for minor balance variations, but proper initial setup ensures optimal battery life and motor performance. Position your smartphone’s center of gravity directly above the tilt motor for best results.
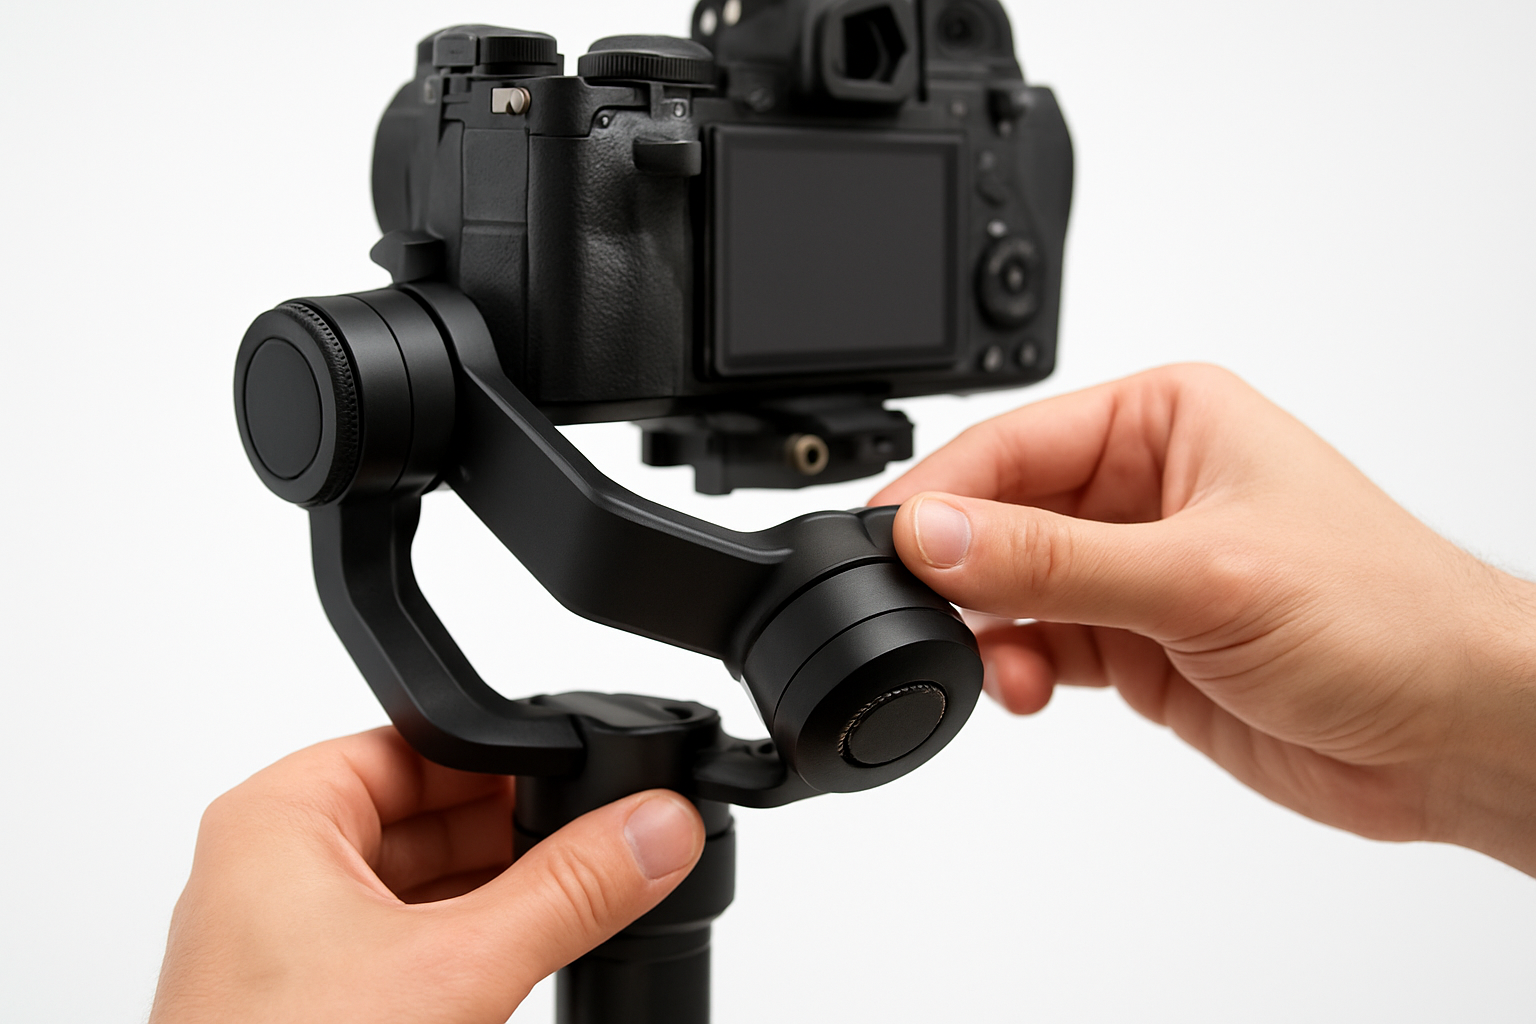
Balancing the Roll Axis

Releasing the Roll Axis Controls
Now that we have balanced the tilt axis, we’ll move on to the roll axis adjustment. Locate the roll axis lock mechanism on your gimbal stabilizer and carefully release it. This axis controls the camera’s side-to-side rotation and is crucial for achieving proper gimbal balance.
Moving Camera Left or Right for Balance
With the roll axis controls released, gently slide your camera left or right along the mounting plate. The goal is to find the perfect center point where your camera remains level without tilting to either side when you release your grip on the gimbal.
Testing the Roll Balance by Gentle Movements
Test your roll balance by making gentle movements with the gimbal. A properly balanced roll axis will keep the camera steady and level during these movements. If the camera tilts left or right, continue making minor adjustments until you achieve perfect horizontal balance for optimal gimbal stabilizer setup.
Locking the Roll Axis in Proper Position
Once you’ve achieved proper roll balance, carefully lock the roll axis controls back into position. Ensure all adjustments are secure before proceeding to the next balancing step in your 3-axis gimbal balancing process.
DJI OSMO Mobile Gimbal
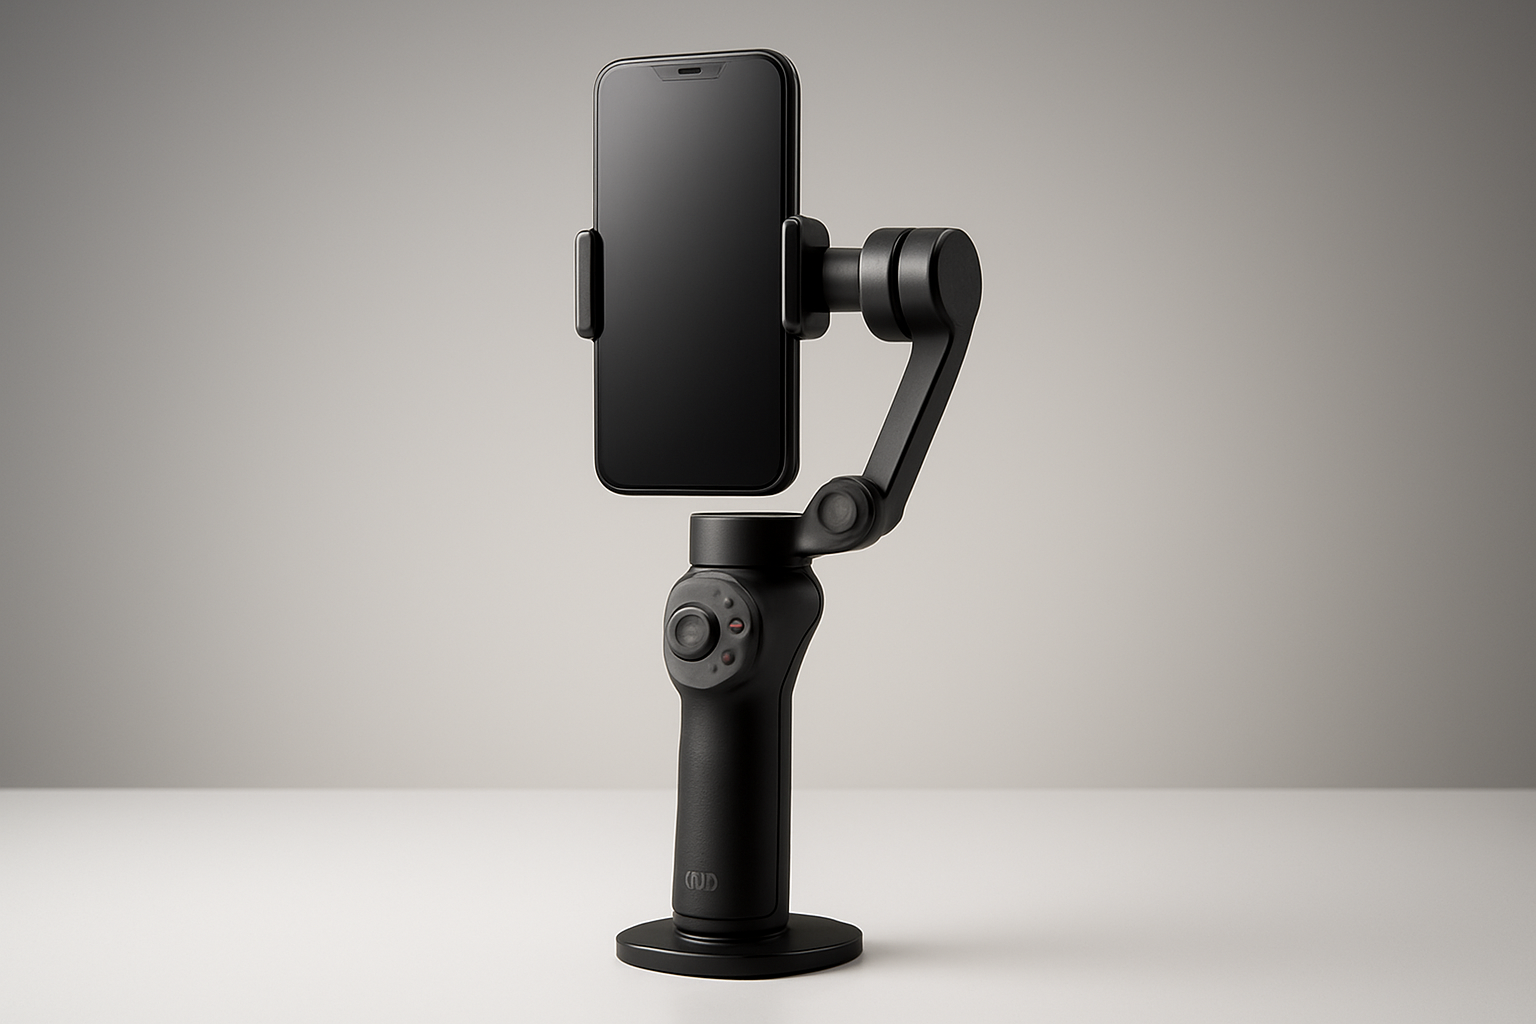
Buy Now
The DJI OSMO Mobile stands out as an intelligent smartphone gimbal that simplifies the camera gimbal tutorial process for mobile creators. This lightweight stabilizer features automated balancing capabilities that detect your phone’s weight distribution and adjust accordingly. The gimbal stabilizer setup requires minimal manual intervention, making it perfect for beginners learning gimbal balance techniques. Its compact design and features streamline the balancing workflow compared to traditional 3-axis gimbal balancing methods used with larger camera systems.
Key Features for Quick Balance
- Magnetic Phone Clamp: Automatically centers most smartphone models
- ActiveTrack 5.0: Intelligent subject tracking reduces manual adjustments
- ShotGuides: Built-in tutorials for optimal gimbal balance techniques
- Portable Design: Foldable structure for easy transport and storage
| Feature | Benefit |
|---|---|
| Magnetic Mount | Instant phone attachment and centering |
| Intelligent Modes | Automated balance compensation |
| Lightweight Build | Reduces fatigue during extended use |
| Quick Setup | Balance achieved in under 30 seconds |
Balance Optimization Tips
The OSMO Mobile intelligent algorithms work best when your smartphone sits properly in the magnetic clamp. Remove thick cases that might interfere with the gimbal’s weight calculations. The built-in sensors continuously monitor balance status, providing real-time feedback through the DJI Mimo app. This smart approach to gimbal balance eliminates the tedious manual adjustments typically required with professional camera gimbals, making it an excellent entry point for content creators new to stabilized footage.
Balancing the Pan Axis
Adjusting the camera’s front-to-back position
Now that we have covered the tilt and roll axis balance, the pan axis requires precise front-to-back positioning of your camera on the gimbal stabilizer setup. Slide your camera forward or backward along the mounting plate until the gimbal handle can rotate freely without motor strain.
Finding the sweet spot for pan balance
The optimal pan balance occurs when your 3-axis gimbal balancing system maintains equilibrium during horizontal rotation. Test this by gently rotating the handle while observing any resistance or drift in the camera’s position.
Verifying smooth pan movements
With your camera gimbal tutorial complete for this axis, perform several full rotations to ensure seamless movement. The gimbal balance should allow effortless 360-degree panning without any jerky motions or motor compensation.
Finalizing pan axis adjustments
Lock all adjustment mechanisms once you achieve perfect balance. Your mirrorless camera gimbal setup should now demonstrate professional-grade stability across all three axes, completing the essential gimbal stabilizer setup process for optimal filming performance.
Quick Testing and Verification
Powering on the gimbal after balancing
Now that we have completed the gimbal balance across all three axes, carefully power on your gimbal stabilizer. The properly balanced camera should remain stable without excessive motor strain.
Testing all three axes for smooth operation
Test each axis individually by gently moving the gimbal through its full range of motion. The tilt, roll, and pan axes should respond smoothly without jerky movements or resistance when properly balanced.
Checking for any remaining vibrations or drift
Monitor for subtle vibrations or unwanted drift during operation. A perfectly balanced gimbal will maintain steady footage without oscillations or gradual position changes that indicate imbalance issues requiring correction.
Making final micro-adjustments if needed
If minor vibrations persist, make small adjustments to the camera position or counterweight placement. These micro-adjustments ensure optimal gimbal balance performance and eliminate any remaining instability for professional-quality stabilization results.